RS-BM500 Shunt Installation & Wiring Overview
Overview
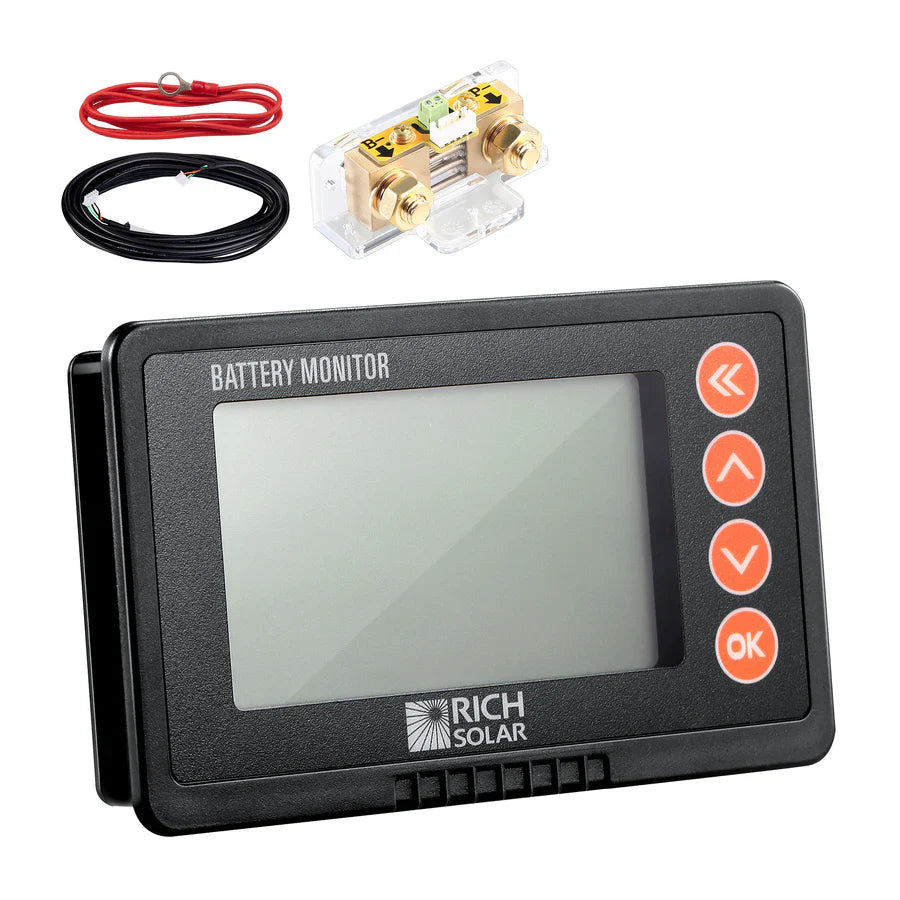
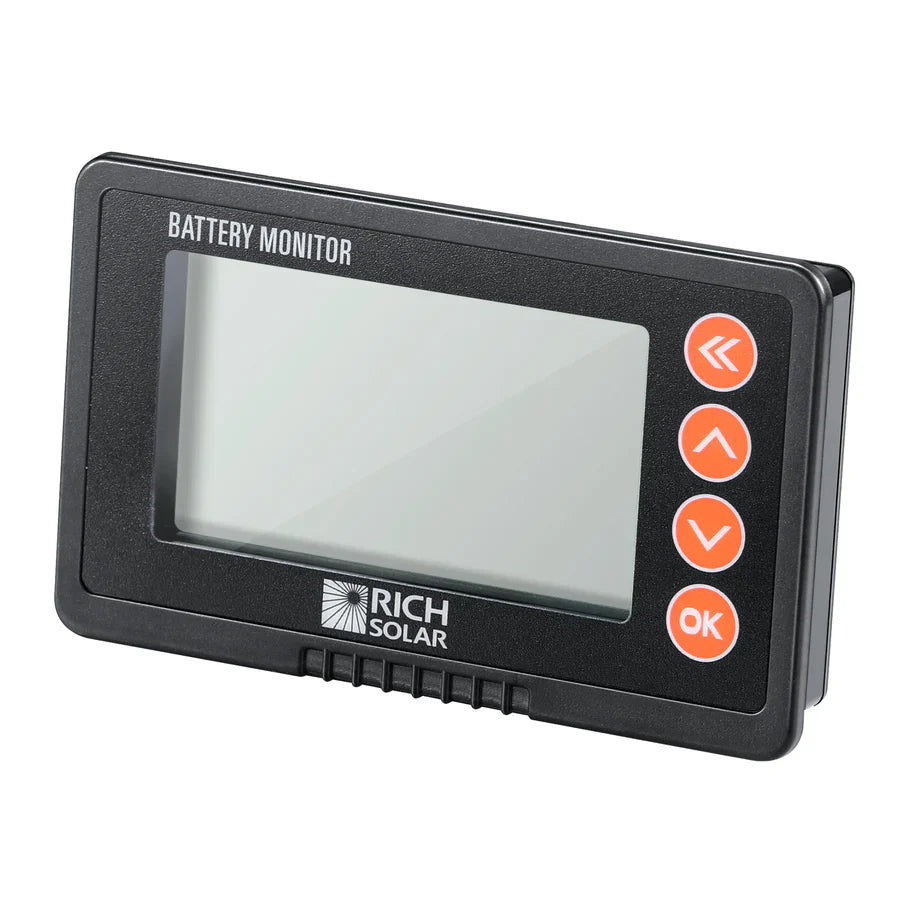
The RS-BM500 shunt should be installed as close as possible to the battery for accurate current measurement. The remote display is designed to be wall-mounted within easy view.
Recommended Tools
Wiring Diagram
Refer to the included wiring diagram for exact connection points throughout the installation process.
Installation Instructions
-
Safety First:
Before starting, disconnect all wires from the negative terminal of the battery.
-
Prepare Negative Battery Cable:
Cut the negative battery cable and crimp new ring terminals onto both ends. Alternatively, you may use a new wire of appropriate gauge capable of handling your system’s full current.
-
Install the Shunt:
-
Connect the battery’s negative terminal directly to the “B-” terminal on the shunt.
-
Ensure there are no other connections to the battery’s negative terminal for accurate readings.
-
Use the supplied B+ wire to connect the shunt’s B+ terminal to the battery’s positive terminal.
-
Important: Avoid stacking smaller terminals beneath larger ones to prevent loose connections.
-
Connect Remote Display:
Mounting the Remote Display
-
Choose a suitable wall location for easy monitoring, keeping in mind the cable length needed to reach the shunt.
-
Drill a pilot hole at the center of the planned mounting spot.
-
Use a jig saw to cut out the mounting hole according to the provided template or picture.
-
Route the shielded cable through the hole, connect it to the shunt, then attach the other end to the remote display.
-
Snap the remote display into place securely.
Basic Setup Recap
-
Disconnect all negative wires from the battery.
-
Crimp ring terminals on negative battery cable or replace with appropriately gauged wire.
-
Connect the battery negative terminal directly to the shunt’s “B-” terminal, with no other connections on battery negative.
-
Connect shunt’s B+ terminal to battery positive with the included wire.
-
Connect the shielded cable from shunt to remote display.